
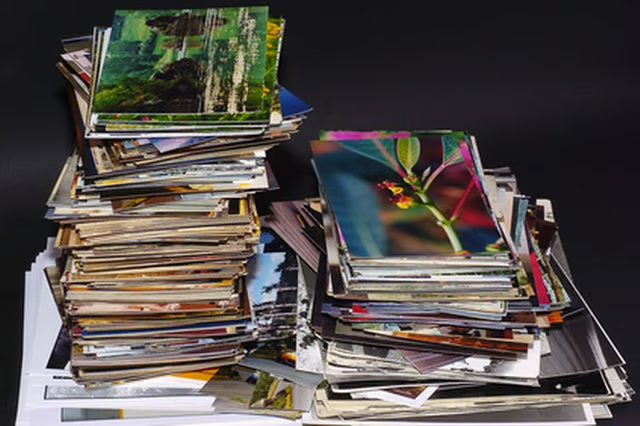


In the age of digital imaging technology, regular pictures still populate bookshelves and photo albums of the world. If you do not have a scanner, you cannot view these photos on your computer. You don't have to buy a scanner to use one. To convert your favorite photos into digital images, log on to a Kinko's workstation and save your photos to a CD or a portable flash drive.
Things You Will Need
CD-RW or CD-R CD
Flash drive
Visit a Kinko's store.
Locate the help center desk and ask the assistant to direct you to a computer workstation.
Find a scanner near the workstation. If you do not see one, ask for assistance. Kinko's places printers and scanners near its workstations.
Lift the scanner's lid and place your photo on the glass surface. Align it so that it fits squarely into one corner of the scanner's surface.
Return to the workstation. You will see a computer desktop with a limited number of icons. Different Kinko's centers might have different programs on their workstations. Many applications can scan an image. These applications include dedicated scanning programs, image editors and even Microsoft Paint. A quick way to scan your photo is to use the MS Paint program built in to every Windows version.
Click the Windows "Start" menu button to display the search box. Type "Paint" in the search box. The "Paint" icon will appear in the list of search results.
Click that icon to open the Paint program. Press "Alt" and "F" to open a drop-down window. Click the "From Scanner or Camera" option. A window will open and display multiple scanning options.
Click "Color Photo" if you have a color photo. Otherwise, click "Black and White Picture or Text." Click "Scan." Paint will scan the image and display it. You can then save the image to a CD or flash drive.
Plug your flash drive into a USB port on the computer. (If you don't have a flash drive, go to the next section.)
Press "Ctrl" and "S." A window opens and displays the devices attached to the workstation. An icon for your flash drive appears in the list.
Double-click the icon to select it, and then type a name for your photo in the "File Name" text box. Click "Save." Paint stores the image on the drive.
Insert a writable CD-R or CD-W CD into the workstation's CD drive slot.
Press "Ctrl" and "S" to open the "Save As" window. You will find an icon for the CD drive in the window. Double-click that icon.
Type a name for your photo in the "File Name" text box. Click "Save." Windows displays a pop-up message balloon at the bottom of the screen. The message reads: "You have files waiting to be burned to disk. To see the files now, click this balloon."
Click the balloon. Windows Explorer opens. Locate the "Burn to Disk" button, and click it. The "Burn to Disc" window opens. Follow the instructions as Windows walks you through the save process and burns the photo file to your CD.
Tip
Kinko's also partners with Snapfish, an online photo service. Instead of saving your scanned image, you can use Snapfish to upload your photos directly from the Kinko's workstation to the site. If you wish to use this option, ask the Kinko's assistants for details. (See Resources)
