
Raised document seals are frequently used to demonstrate the authenticity of a document. Seals are created using a device known as an embosser, and the raised seal imprint is formed by pressing a metal seal onto the paper. With a handheld embosser, creating raised document seals is an easy process.
Things You Will Need
Seal
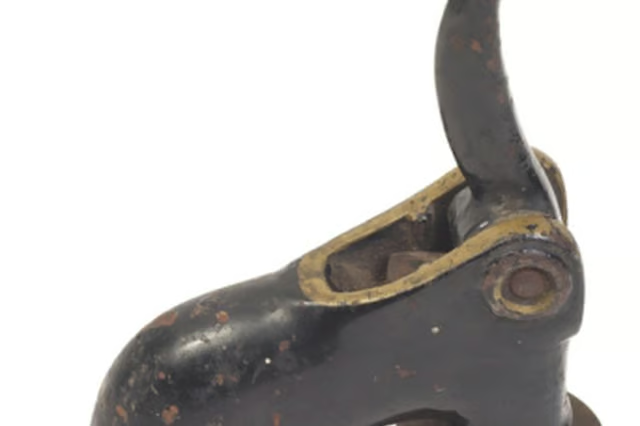
Handheld embosser
Document
Choose the appropriate seal for the document to be stamped.
Insert the die and counter-die into the handheld embosser. The raised portion of the seal (the die) should face upward to imprint the seal as a relief into the paper.
Insert the document between the seal and the lower metal plate of the embosser. Check to ensure that the seal is aligned properly. Depending on the style of the embosser, press down with even pressure on the lever or squeeze the handles together and release.
Warning
Seals should be stored in a locked container to prevent others from falsely authenticating a document. Use of an official government seal without permission is a felony in most jurisdictions.
