
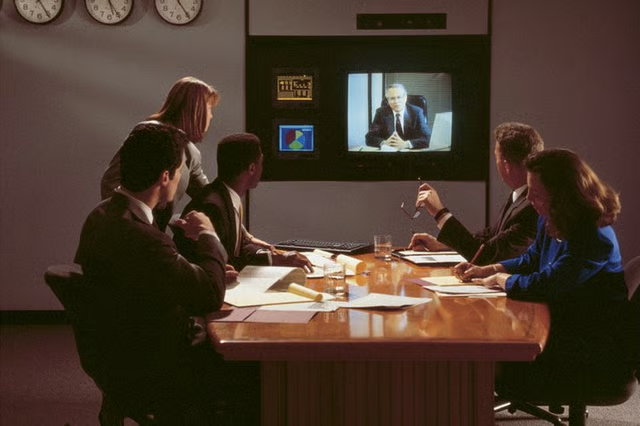


It’s the stuff of nightmares. You’ve prepared for an important video conference. You have your slides ready and your thoughts together, and you click to join (or start) the meeting, but it’s not working. Maybe the video is off, or the audio isn’t quite right. You’re left scrambling to troubleshoot the issue while other participants are waiting.
This nightmare scenario is why it’s critical to test Webex before you need it. You can test Webex by joining a test meeting or by setting up a mock meeting to confirm you have everything you need to have a successful video conference.
Tip
Joining a test meeting ensures you can use your computer or mobile device for a Webex meeting.
Webex is a proprietary video conferencing system produced by Cisco. It offers video conferencing via a web browser or through the Webex app. If you don’t regularly participate in Webex conferences, you may not need to complete a full Webex download. You can join your meeting through your browser.
If you are hosting a meeting, you can set up the meeting through your Webex application or through your browser. In this case, you should test Webex through whichever option you’re planning to use to host your meeting.
Cisco offers test meetings that give you a chance to test-run Webex without clicking on the official “join Webex meeting” link you received in your email. To join a test meeting, navigate to the Cisco test meeting website via your web browser.
You will be prompted to enter your name and email. Once you do so and click “Join,” you may be prompted to add a plugin to your browser to make accessing meetings easier. For example, if you are using Chrome, you may be prompted to download the Webex plugin for Chrome.
You can download the plugin or click the link to run a temporary application to join the meeting. Regardless of which option you choose, you will need to open the download if it doesn’t open automatically. The application will open your test meeting page.
When the test meeting opens, it will bring up a screen showing how it is accessing your computer’s audio and video. Adjust these settings as needed and click “Connect.” If everything is working, then you are ready for your meeting. If they aren’t working, change your settings and try again.
If you are hosting a Webex meeting, you will want to test your set up as a host rather than as a participant. To do this, you should set up a mock meeting with one or more willing participants.
Your first step will be to schedule the meeting. To do this, sign in to Webex (via browser or application) and click “Schedule.” Set the date and time and invite your participants. At or shortly before your scheduled meeting time, you will need to start the meeting.
To start the meeting, sign in to Webex and locate your meeting in the “Upcoming Meetings” section. Click “Start” and connect your audio and video. Wait for your participants to join and then begin your test.
During your mock meeting, test all the Webex elements you plan to use during the actual meeting. If you’re planning to screen share or share files, test these capabilities. Make sure that you can mute and unmute all participants. If you are planning to record, do a test recording and ensure you can play it back reliably.
If you have any difficulties during your mock meeting, visit Cisco’s Webex support center or contact Cisco support. They can help you resolve any issues so you have a seamless, nightmare-free meeting.
